Comprehensive Guide to the Data Publishing Wizard
The Data Publishing Wizard enables you to:
- Create database tables from Microsoft Excel tables
- Export data from Excel tables to the created database tables
- Insert connected tables
Once inserted, these tables allow you to save changes using the Save button. Other users can also connect to the database tables and modify the data.
The wizard retains the formatting and formulas from the source Excel tables. To save this formatting and formulas to a database, use the Table Format Wizard.
You can use the Data Publishing Wizard to recreate a database table, such as when you need to change its structure. However, avoid using it as a replacement for the standard saving changes method.
Additionally, check out the Data Merge Wizard, which allows you to merge Excel table data into existing database tables.
The Data Publishing Wizard supports publishing data across various database platforms, including SQL Server, Azure SQL Database, Oracle Database, MySQL, MariaDB, PostgreSQL, Snowflake, and SQLite.
Excel Table Requirements
The Data Publishing Wizard works with Excel tables previously known as "Lists." To run the wizard, select any cell within the table you want to publish.
If the wizard is disabled, create an Excel table by selecting the desired range and clicking Insert > Table from the Excel menu.

Important Notes
A newly inserted Excel table includes a column for row numbers (_RowNum in the English version), which is necessary for saving data changes.
If your source table starts in column A, make sure to insert at least one empty column before it; otherwise, the columns will shift.
Wizard Steps
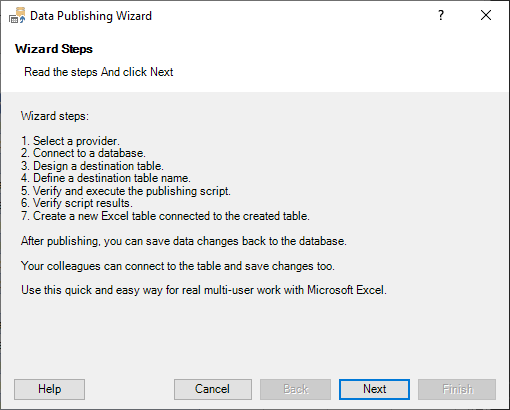
The wizard consists of the following steps:
- Selecting a provider
- Connecting to a database
- Designing a database table
- Defining the table schema and name
- Executing the publishing script
- Verifying script results
- Inserting a connected table
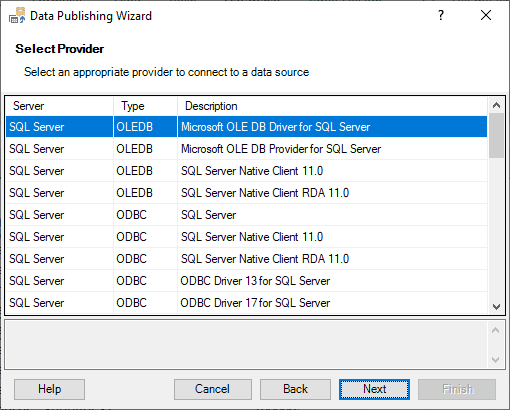
Step 1. Selecting Provider
Choose the desired data provider as outlined in the Database Connections topic.
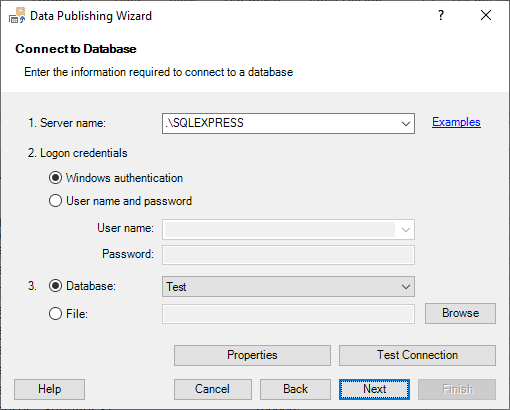
Step 2. Connecting to Database
Connect to a database as described in the Database Connections topic.
Step 3. Designing Database Table
In this step, you can design the destination database table.
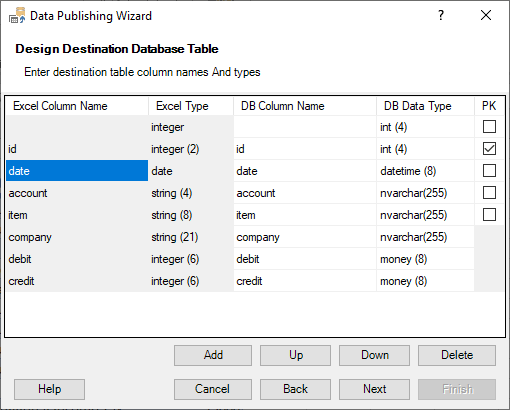
You can:
- Add or delete columns in the destination table
- Change the order of columns
- Rename columns
- Modify column types
- Set primary key columns
The Database Data Type column displays types applicable to the source column types. For example, if the source column contains only integers, the wizard will show only integer-compatible SQL data types.
The wizard selects the most appropriate types by default, but you should verify and adjust them as needed. The number in brackets next to the data types indicates the length of the data type.
The wizard avoids using 4-byte real and float data types, as Microsoft Excel may import incorrect values.
The table must have at least one primary key (PK) column, which cannot contain empty values. If an integer column is used as a single primary key, the wizard adds the IDENTITY property. For GUID columns used as a single primary key, a GUID generation property is added. Both IDENTITY and GUID columns are supported across all database platforms.
The wizard does not create database columns for source columns that contain formulas. Instead, it generates these formula columns in the final step when inserting the new table. You can use the Table Format Wizard to save formatting and formulas to the database for sharing with colleagues.
Step 4. Defining Table Schema and Name
In this step, define the schema and name of the destination table.
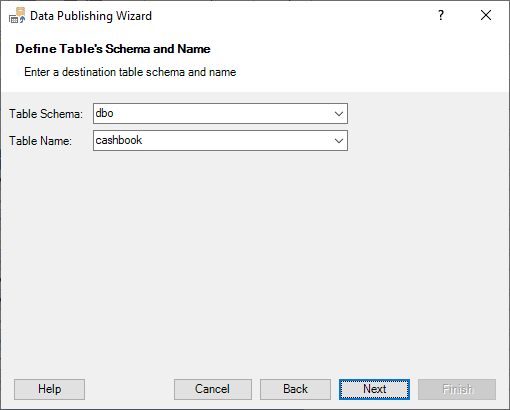
The Table Schema field lists schemas where new tables can be created. Typically, you need ALTER SCHEMA permission to create new tables.
To create a new schema, you need CREATE SCHEMA permission.
The Table Name field displays names of existing tables within the selected schema.
Important! If the destination table already exists, it will be dropped when creating a new table. The wizard will prompt for confirmation in such cases.
Step 5. Executing Script
This step allows you to verify and execute the publishing script.
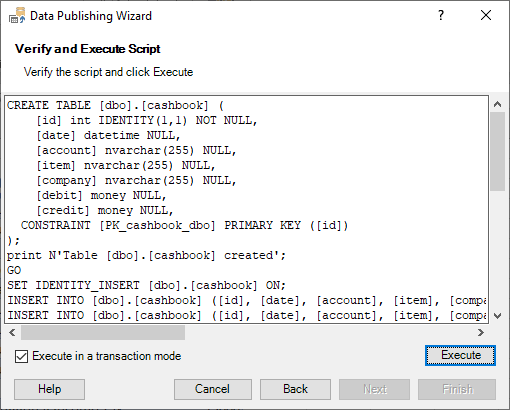
You can edit the script before execution, such as changing data types. However, be cautious, as the wizard does not validate your changes.
Click the Execute button to run the script. If execution is interrupted due to a timeout, you can increase the command timeout in the Options dialog box.
If you lack the necessary permissions to execute the script, you can copy it and send it to your database administrator for table creation and data import.
Step 6. Verifying Script Results
The wizard displays the results of the script execution before proceeding to the next step.
For example:
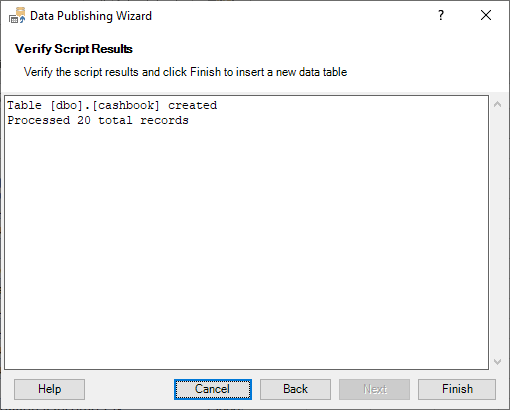
The wizard executes the script within a transaction. Therefore, if an error occurs, your database remains unchanged.
If you encounter an error, analyze it; you may need to adjust data types or modify some data.
Click the Finish button to create an Excel table connected to the newly created database table.
Step 7. Inserting Connected Table
Upon clicking the Finish button, the wizard performs the following actions:
- Creates a new worksheet
- Inserts a new table connected to the created database table
- Copies formula columns from the source table to the new table
- Applies formatting from the source table
The newly inserted table includes the first _RowNum column, which is used for saving data changes, and the wizard hides it.
The source and new tables maintain the same column order, making it easy to adjust external formulas to reference the new tables.
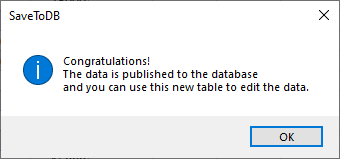
At the end, the wizard displays a result message:
